Tutorial - Creating a Planet in Photoshop
Hello! This is a short tutorial on how to make planets in Adobe Photoshop. I used CS3 for this project, but most editions should handle it :)
Tools: - Photoshop CS3
- Texture/stock photographs of terrain
- about 5-10 minutes
A note on 'textures': A texture simply means a stock photograph of a given thing. For example; if you want to a make an ice world, google up some 'ice textures' or 'snow textures'. These are usually big images, the bigger and better quality they are - the better! Lets begin:
   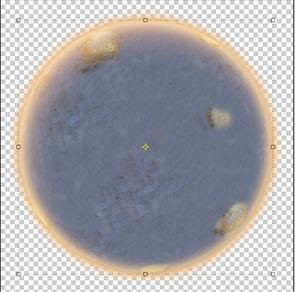       |
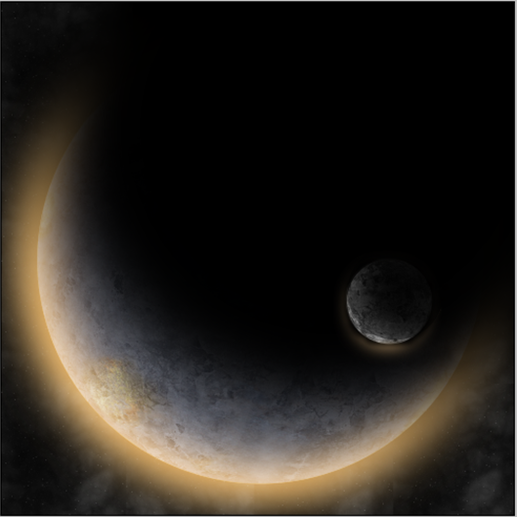
Set a work area for your planet – if you don’t intend on adding anything else (like a sexy background / starfield), then you can simply create an area with an even ratio
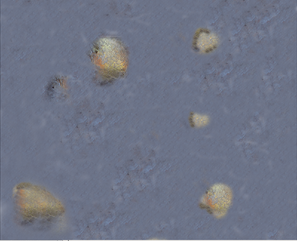
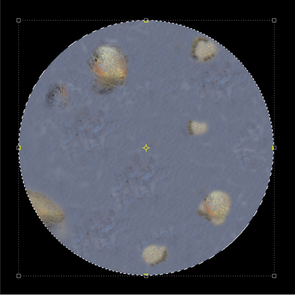
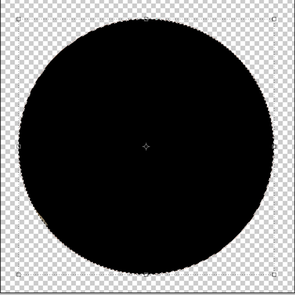
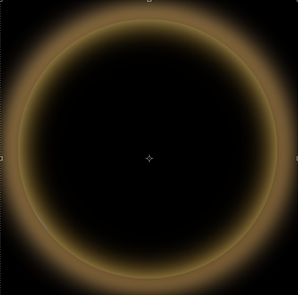
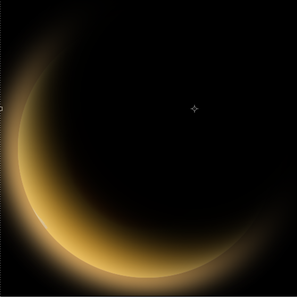
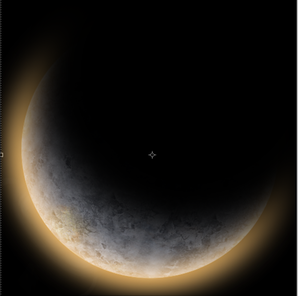
(I like 2000 x 2000 pixels) Use the Paint bucket tool (G) and fill your layer with black Create a new layer (we’ll come back to this later) and open your Texture document in Photoshop in a new Photoshop document Using the clone stamp tool, make your texture flat and planet-like. I’ve gone for a weird grey rock / icy kinda feel…Once your happy with the image, go to Edit à Define pattern, and save it with a name of your choice. Head back into your planet document…use the elliptical marquee tool (hold shift to ensure it remains circular) and get out the paint bucket again. This time, look up the top – change ‘Foreground’ to ‘Pattern’ and use the pattern you created earlier! Use the Spherize tool: Filter --> distort --> Spherize, setting it to 100. You may have to do this twice, but that’s your choice ! Duplicate the planet layer twice (to get the same radius circle) and fill them black. One of these will be the ‘glow’ and another ‘shadow’ of the planet. Double click your ‘glow’ layer, giving it an Inner shadow, outer glow and inner glow. You can set the colours and values yourself and experiment a little… just remember to pick three colours that are like eachother! Remember to make your colours reflect your planet…for example, an ice world is begging for light blues as a glow! Bring your shadow layer to the top. Give it a bit of blur (I like Gaussian blur): Filter --> Blur --> Gaussian – set to 100 (or personal preference) Click your shadow layer. Hold shift and drag one of the corners, producing the dark side of your planet Re-order them layers. It should be: Shadow – Glow – Planet layer – Background. That’s the basic thing done! Check out the ‘optional extras’ you can apply below! Why not create another texture to represent clouds? Make sure you Spherize and give it opacity Then position your cloud layer OVER your primary planet layer, but beneath your glow layer. Why not add some nebulae and stars in the background? Or perhaps even a Moon? |
All Done!